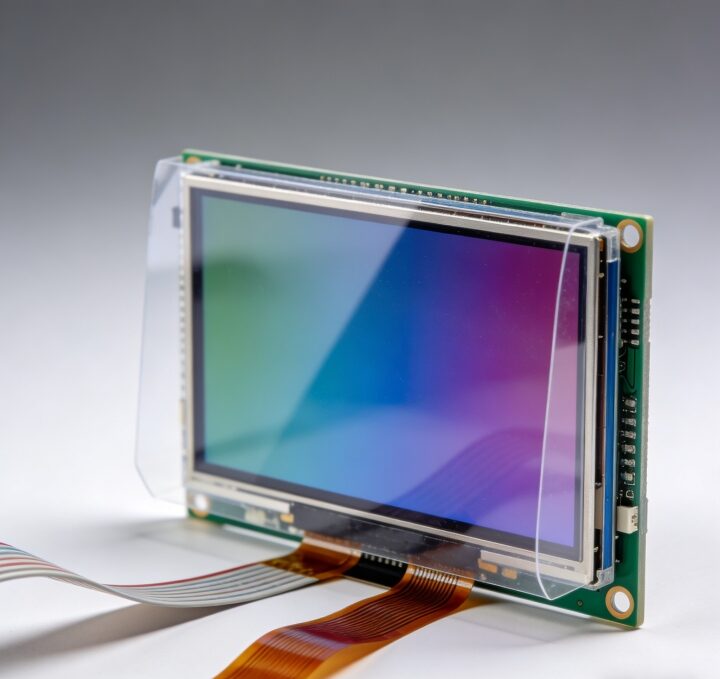
With the increasing popularity of using TFT (Thin-Film Transistor) displays in different industries, including consumer electronics, industrial applications, etc., it is important for the manufacturer, engineer, and even the end-user to ensure the quality and reliability of the display screen. Whether you are dealing with a smart device or installing a display screen in a larger device, it is important to understand the right way to test the TFT display screen in order to avoid any defects in the display screen and ensure the optimal performance of the screen.
In this article, we will discuss the three major steps involved in testing the TFT display screen.
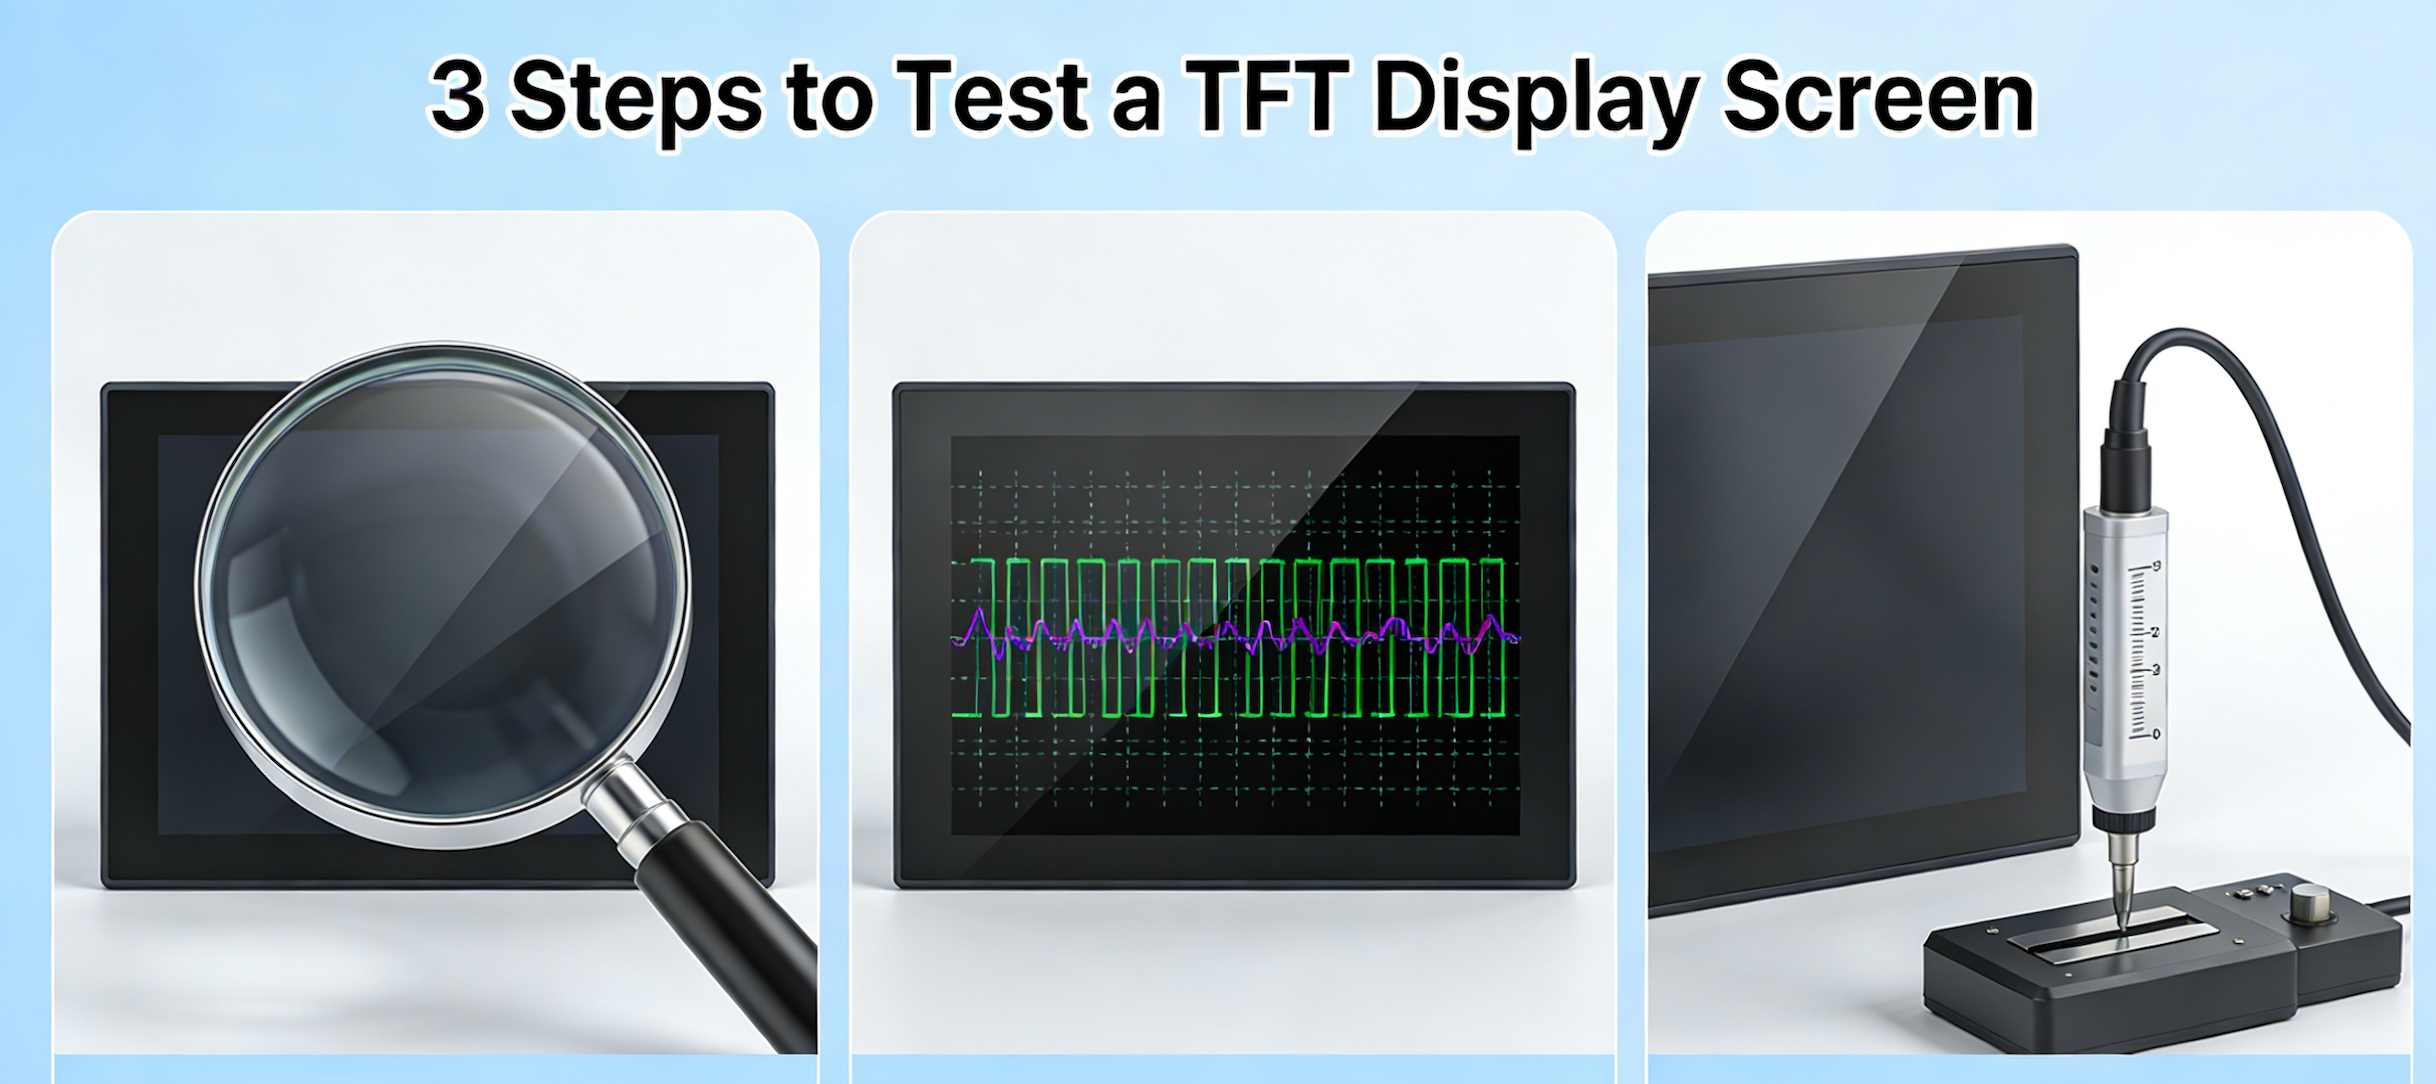
Step 1: Visual Inspection of TFT Display Screen
The first step in the process of testing the TFT display is to perform the visual inspection. This is the easiest step in the process, but is the most important step in the inspection process.
While performing the visual inspection, the following aspects of the TFT display screen have to be taken into consideration:
Surface of the Screen and Protection
The surface of the screen should be inspected to see if there is any indication of damage, scratch, crack, or any other damage. Also, the protective film on the surface of the screen should be inspected to see if it is damaged or not. The presence of the protective film on the surface of the screen is significant since it protects the screen from damage during shipping and installation.
Presence of Dust or Foreign Objects
The edges of the screen should be inspected to see if there is any dust or foreign objects stuck to the screen. The presence of dust particles or hair would cause damage to the screen.
Model and Production Details
Check that the model, production date, and any required silk-screen printing are visible on the back of the TFT display. This ensures that the display is the correct one for the order and meets the specifications. It also ensures that the display is correctly marked for warranty and servicing purposes.
Color Consistency
The display should also be checked from different angles to confirm that the colors on the screen are consistent. In case the colors on the display are inconsistent, it could be a pointer to a problem with the display panel.
Step 2: Electrical Measurement of the TFT Display
After the visual inspection of the display, the second step in the testing of the TFT display is the electrical measurement of the display. This is an essential step that will help you confirm whether the electrical components of the display are functioning properly.
Powering the Display
In order for the electrical measurement to be done, the TFT display has to be powered. This can be done by connecting the display to the motherboard or a display test box. This display test box will allow you to apply the right voltage to the display, thus powering it correctly.
Check for Dead Pixels and Bright Spots
Once the display is powered on, the screen has to be inspected for any malfunctioning areas, dead pixels, and bright spots. Dead pixels refer to the pixels on the screen that are consistently lit or dark. This affects the display screen. Bright spots on the screen occur due to the backlighting of the display screen. When the screen displays a solid color, such as black or white, bright spots can be observed.
Display Anomalies and Uniformity
The display screen can be tested by displaying different types of images on the screen. This can be done by displaying images with gradients. Also, it can be checked whether there are any anomalies in the display of colors on the screen. The display screen should be uniform in terms of brightness and colors. Anomalies such as dark spots or color distortions may be present, which may have been caused by problems with the electronics of the display screen.
Test for Flickering
In addition to the above, while the screen is on, it should also be checked for flickering or tearing. The flickering of the screen may have been caused by voltage instability. The flickering should therefore be corrected.
Step 3: Reliability Testing of the TFT Display
The last step in the testing of a TFT screen display is a reliability test. In this step, the TFT screen display is tested in a simulated environment. This step is critical in the testing of high-end display devices.
Temperature and Humidity Testing
The display should be tested for its reliability in extreme temperatures and humidity. Temperature changes can impact the display’s functionality. For instance, the display might flicker, or it might not respond to touch. In most cases, the display is tested in a controlled temperature and humidity environment for 24-72 hours.
Power-On Aging Test
Another test that is relevant to the display is the power-on aging test. This involves keeping the display powered on for a long period, i.e., 72 hours. This is to ensure that there are no problems with the display, such as the backlight, the colors, or the internal circuitry of the display.
Vibration and Impact Testing
In the case of industrial displays, it is also relevant to perform the vibration and impact testing. This is mainly relevant for the TFT displays since they are likely to be used in gadgets that are likely to be subjected to vibrations, such as portable gadgets or the automotive industry.
Electrical Stress Testing
In addition to that, the display may also have to go through electrical stress tests. The main aim of these tests is to ensure that the display is able to withstand minor voltage fluctuations.
Conclusion
To all manufacturers and engineers out there, it is very important to ensure that good methods are used to test products in order to maintain high-quality products. If you have any other related questions, you can consult us on the Easy Quick official website for assistance.
Whether you’re a terminal manufacturer or someone receiving displays for personal use, implementing these testing methods will help you guarantee the performance and durability of your TFT displays.