Introduction
You’re designing an embedded system with a display interface. Your MCU is already handling sensor data, communication protocols, and real-time control. The last thing you need is a complex RGB interface consuming dozens of GPIO pins and requiring a dedicated GPU.
Enter UART HMI displays—the intelligent solution that simplifies your embedded design while reducing development time and MCU resource consumption.
As a display manufacturer with 18+ years of experience supporting 1,500+ embedded projects across industrial, medical, and consumer applications, we’ve seen UART HMI displays transform how engineers approach human-machine interfaces. In this guide, we’ll cover everything you need to select the right UART HMI display for your 2026 project.
What is a UART HMI Display?
Traditional RGB Interface vs. UART HMI Interface
Traditional RGB/TTL Interface:
Requires 20-50+ GPIO pins (data + control signals)
Needs external frame buffer (memory intensive)
MCU must refresh display continuously (high CPU load)
Complex timing requirements (HSYNC, VSYNC, DE, CLK)
Typically requires dedicated LCD controller or GPU
UART HMI Interface:
Only 2-4 wires (TX, RX, VCC, GND)
Built-in display controller with internal memory
MCU sends simple commands (text, shapes, images)
Display handles all rendering autonomously
Works with any MCU that has UART (even 8-bit)
How UART HMI Displays Work
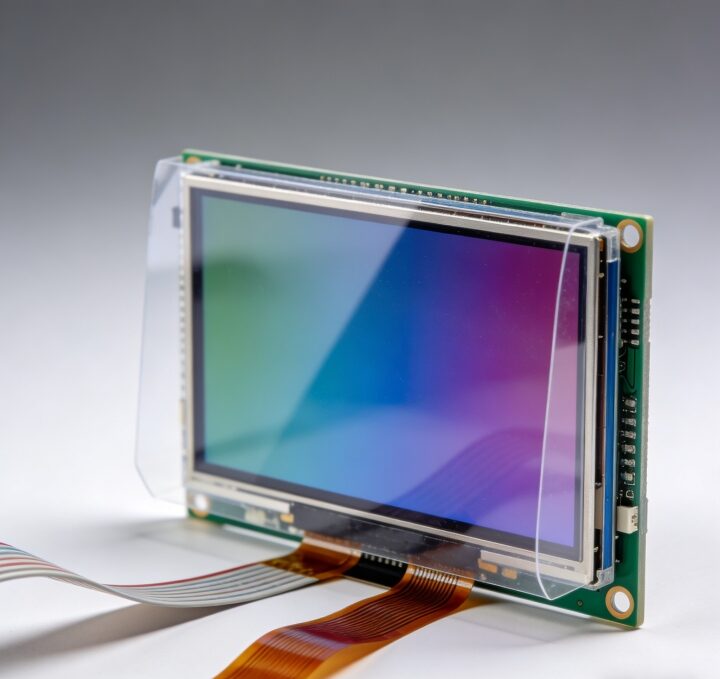
UART HMI modules integrate:
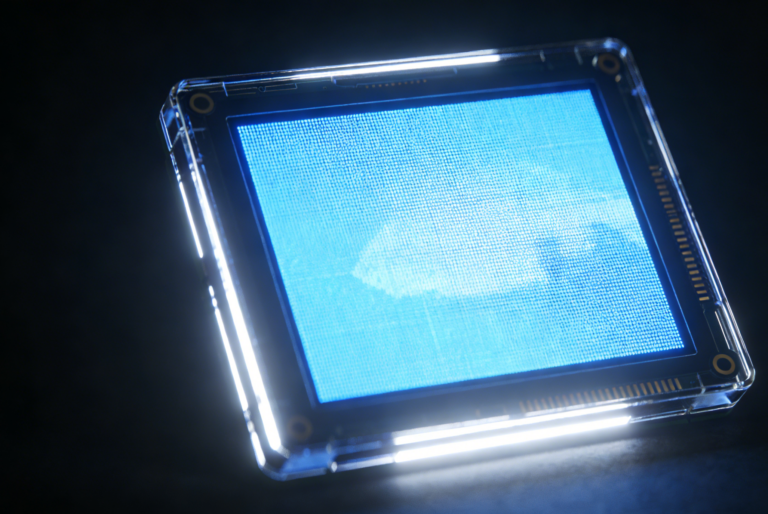
Display panel (TFT LCD)
Display driver IC (controls pixels)
Microcontroller with GUI engine (processes commands)
Flash memory (stores fonts, images, UI assets)
Touch controller (optional, for touch models)
Key Advantages of UART HMI Displays
1. Dramatically Reduced MCU Resource Usage
GPIO savings: From 40+ pins to just 2-4 pins Memory savings: No frame buffer required (saves 100KB-1MB RAM) CPU load: <5% vs. 30-50% for RGB interface Result: You can use a smaller, cheaper MCU or add more features
2. Simplified Software Development
No graphics library needed: No LVGL, emWin, or Qt required
No driver development: Commands are standardized ASCII
Rapid prototyping: UI changes require firmware updates, not hardware redesign
Lower skill barrier: Any embedded engineer can implement in hours
3. Faster Time-to-Market
Development time reduction: 4-8 weeks → 1-2 weeks Debugging complexity: Minimal (simple serial communication)UI iteration: Update via serial without hardware changes Risk reduction: Display module is pre-tested and validated
4. Cost Optimization
MCU cost savings: Downgrade from ARM Cortex-M7 to M4/M3
PCB simplification: Fewer traces, smaller board size
Development cost: Less engineering time = lower NRE
Total system cost: 15-30% reduction typical
UART HMI Display Selection Criteria
Display Specifications
| Parameter | Entry Level | Mid Range | High End |
| Size | 2.4″ – 3.5″ | 4.3″ – 5.0″ | 7.0″ – 10.1″ |
| Resolution | 320×240 (QVGA) | 480×272 (WQVGA) | 800×480 (WVGA) |
| Brightness | 350-400 nits | 500-600 nits | 800-1000+ nits |
| Touch | Resistive | Capacitive (PCAP) | PCAP + AG coating |
| Operating Temp | -20°C to +70°C | -30°C to +80°C | -40°C to +85°C |
Communication Interface
Standard UART (TTL):
Voltage: 3.3V or 5V (check compatibility)
Baud rate: 9600 to 1,152,000 bps (higher = faster UI)
Flow control: Usually not required
Advanced Options:
RS232/RS485 (for long-distance industrial applications)
Dual UART (separate command and data channels)
SPI alternative (for higher speed, but more pins)
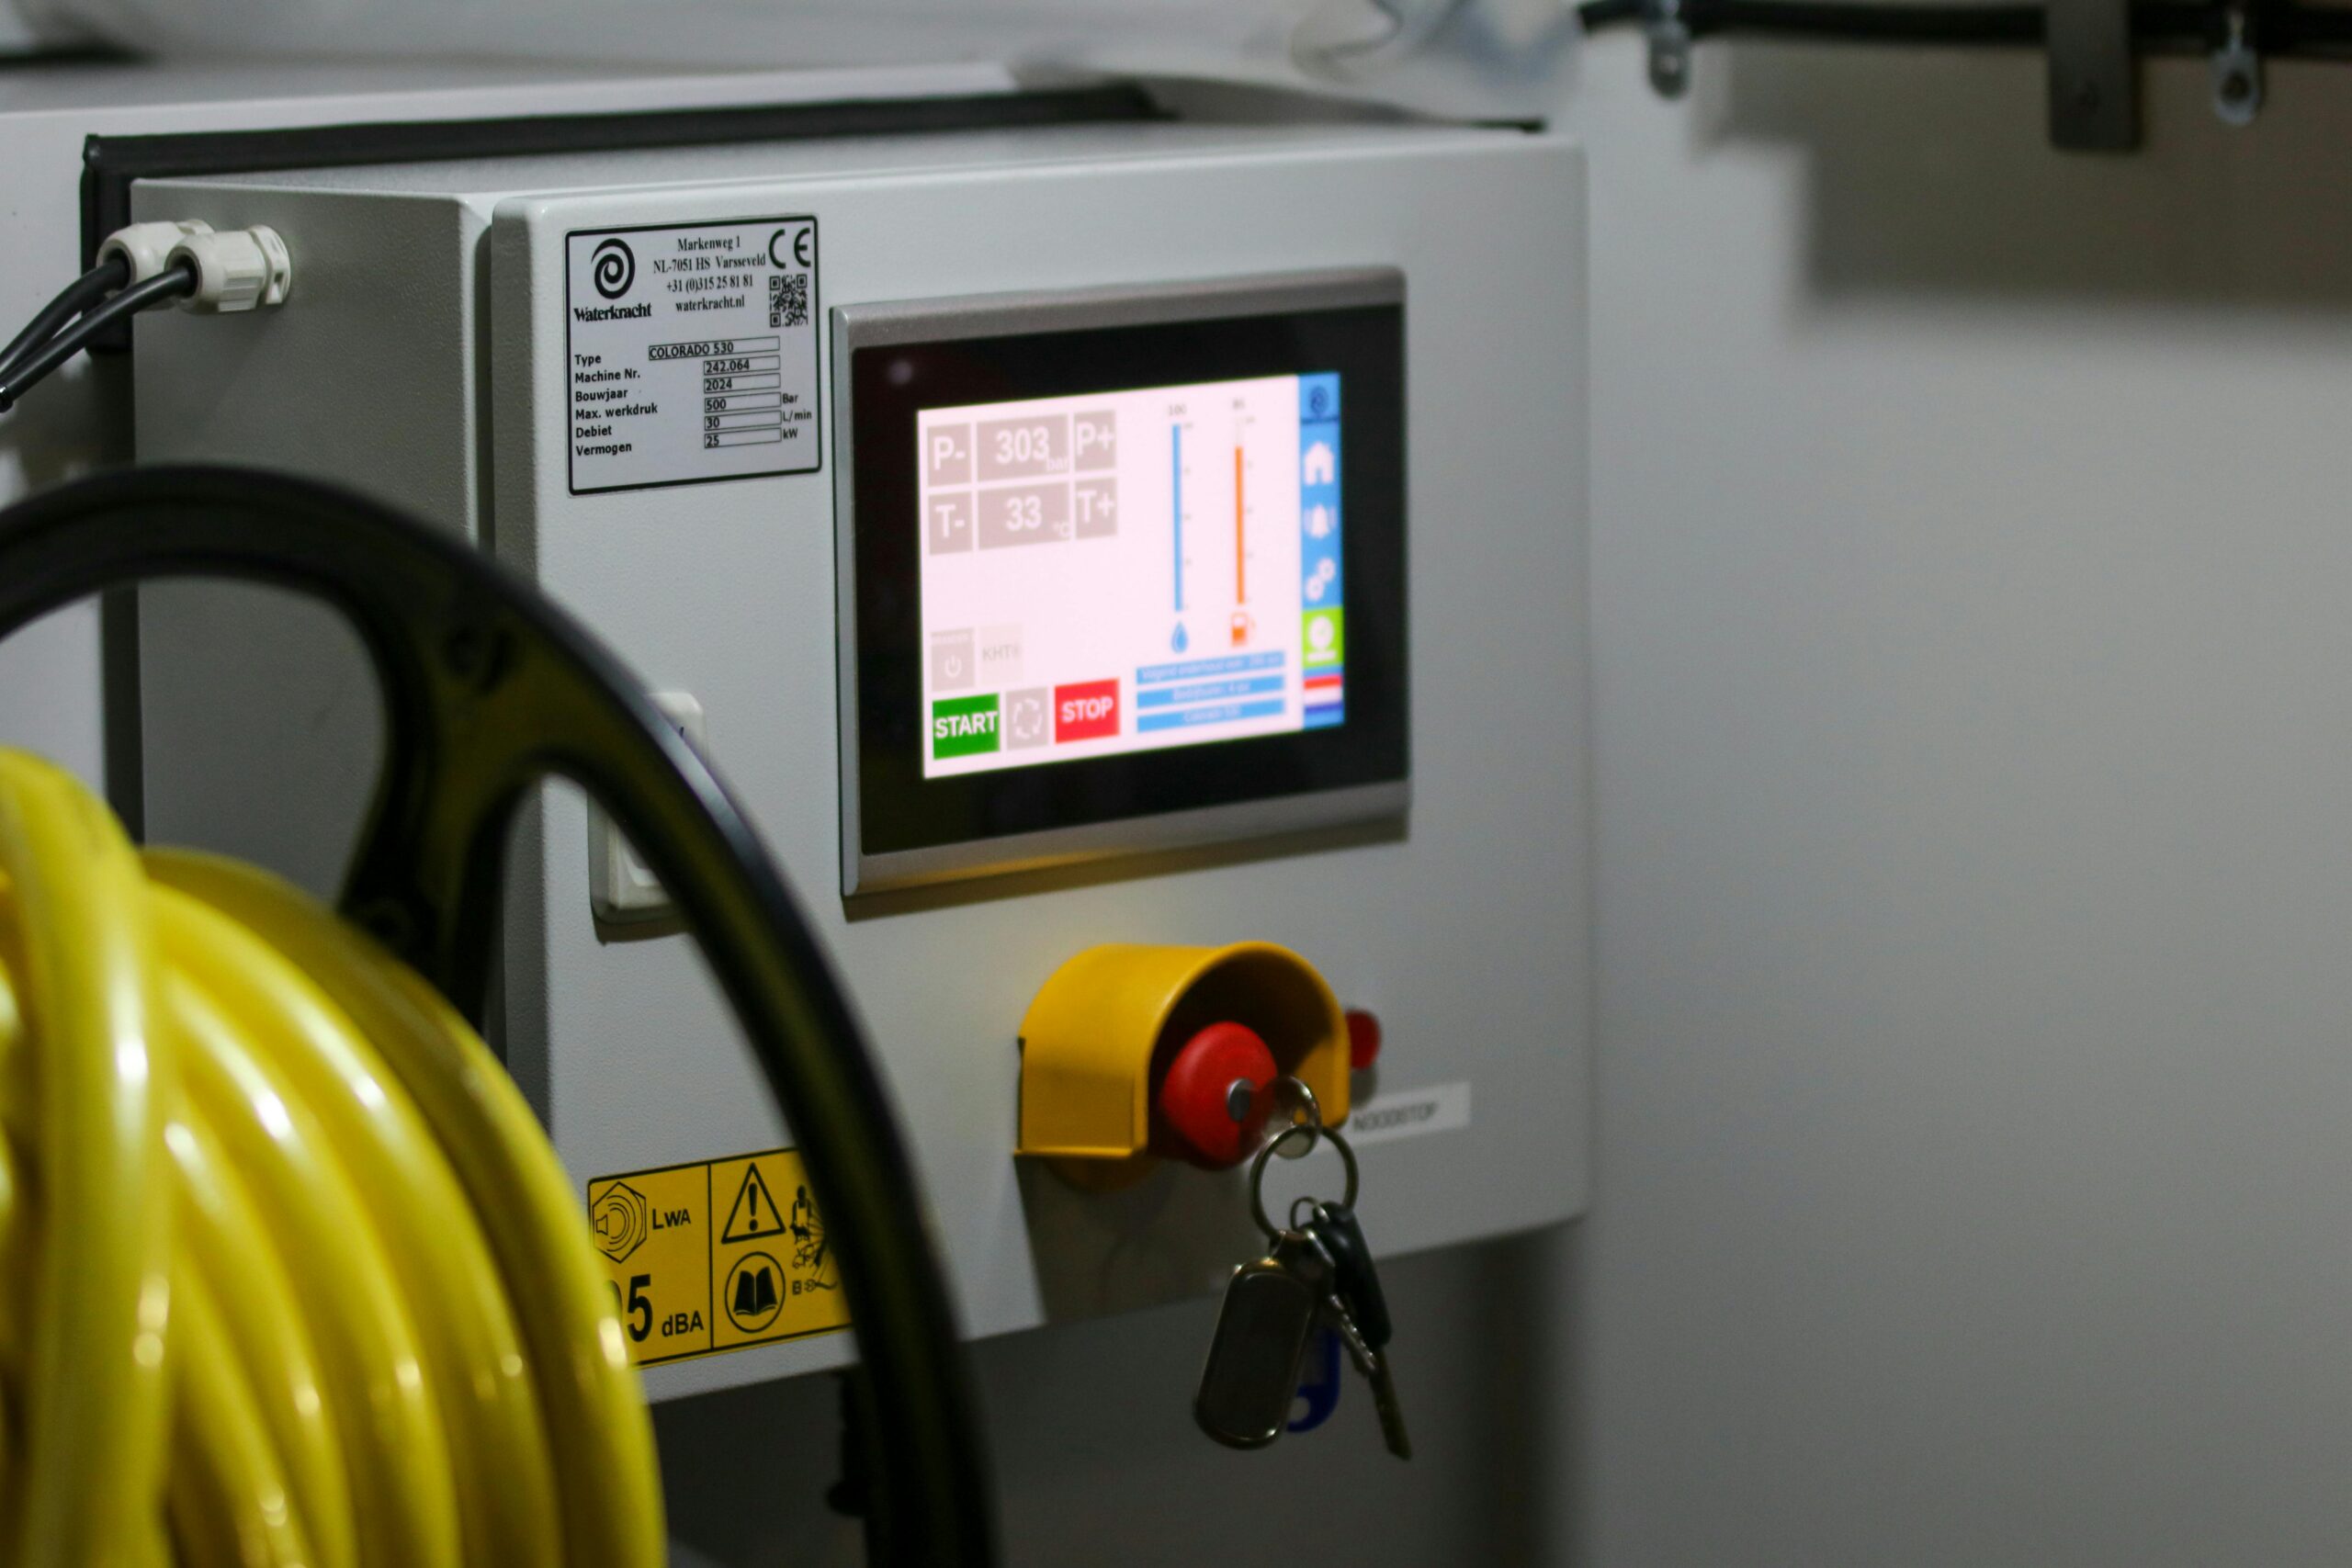
Built-in Features to Evaluate
Essential:
✅ Command set documentation (clear, comprehensive)
✅ Font customization (multiple sizes, languages)
✅ Image support (BMP, JPEG, PNG)
✅ Basic shapes (line, rectangle, circle, arc)
✅ Page/screen management
Advanced:
✅ Animation support (fade, slide, rotate)
✅ Variable binding (auto-update displayed values)
✅ Event handling (touch callbacks)
✅ Data logging (internal storage)
✅ Multi-language support (Unicode, UTF-8)
Development Tools
What to look for:
GUI Editor: WYSIWYG design tool (drag-and-drop UI creation)
Simulator: Test UI on PC before deploying to hardware
Debug mode: Real-time command monitoring
Firmware update: Easy field upgrades (UART or SD card)
Example code: Multiple MCU platforms (STM32, Arduino, ESP32, etc.)
Red flag: No development tools = significantly longer development time
UART HMI vs. Alternative Solutions
UART HMI vs. RGB + MCU
| Factor | UART HMI | RGB + MCU |
| GPIO Usage | 2-4 pins | 20-50 pins |
| Development Time | 1-2 weeks | 4-8 weeks |
| MCU Requirements | Any UART MCU | High-performance MCU |
| Code Complexity | Simple commands | Full graphics library |
| Unit Cost | $15-35 | $8-20 + MCU upgrade |
| Total System Cost | Lower | Higher |
| Best For | Most embedded apps | High-performance UI |
UART HMI vs. SPI Display
| Factor | UART HMI | SPI Display |
| Interface | UART (asynchronous) | SPI (synchronous) |
| Speed | Moderate (up to 1 Mbps) | High (up to 50+ Mbps) |
| Complexity | Very simple | Moderate |
| MCU Load | Minimal | Moderate (DMA recommended) |
| Best For | General HMI | Fast animations, video |
Conclusion
UART HMI displays are the smartest choice for most embedded projects in 2026. They dramatically simplify hardware design, reduce MCU requirements, accelerate development, and lower total system cost.
Choose UART HMI if you need:
✅ Simple integration (2-4 wires)
✅ Fast development (1-2 weeks)
✅ Lower MCU requirements
✅ Cost optimization
✅ Reliable, proven technology
Consider alternatives (RGB/MIPI) if you need:
High-frame-rate video playback
Complex 3D graphics
Very large displays (10″+)
Maximum display performance
For 90% of industrial, medical, and consumer embedded applications, UART HMI displays provide the optimal balance of performance, cost, and development efficiency.
Ready to Simplify Your Display Integration?
At EasyQuick LCD, we offer UART HMI display modules from 2.4″ to 10.1″, with:
✅ Complete development tools (GUI editor, simulator, example code)
✅ Comprehensive command documentation
✅ Custom firmware support (add your specific commands)
✅ Sample lead time: 2-3 weeks | Mass production: 4-5 weeks
✅ Technical support from our embedded engineering team
Need help selecting the right UART HMI display for your project?
Contact our engineering team for a free consultation — We’ll recommend the optimal module based on your size, performance, and budget requirements.
Browse our UART HMI display portfolio | Download development kit documentation
FAQ: UART HMI Displays
Q1: Can I use a UART HMI display with Arduino or ESP32?
A: Absolutely. Any MCU with a hardware or software UART can drive a UART HMI display. Arduino (Uno, Mega, Due), ESP32, ESP8266, STM32, PIC, AVR—all work perfectly. We provide example code for popular platforms. Connection is straightforward: connect TX to RX, RX to TX, VCC to power, and GND to ground.
Q2: What’s the maximum practical baud rate for UART HMI displays?
A: Most UART HMI modules support up to 1,152,000 bps (1.15 Mbps). At this speed, you can refresh a full 480×272 screen in approximately 100-200ms. For faster updates, use partial screen refresh commands or pre-load static elements. Some high-end modules support binary protocols that are 30-50% faster than ASCII at the same baud rate.
Q3: Can I update the display firmware or UI assets in the field?
A: Yes, most UART HMI modules support field updates via UART. You can send new fonts, images, or even firmware upgrades through the serial connection. Some models also support SD card updates for faster bulk transfers. This is critical for products that need UI updates after deployment.